Ragi Finger Millet Cultivation Guide | Varieties and Best Practices
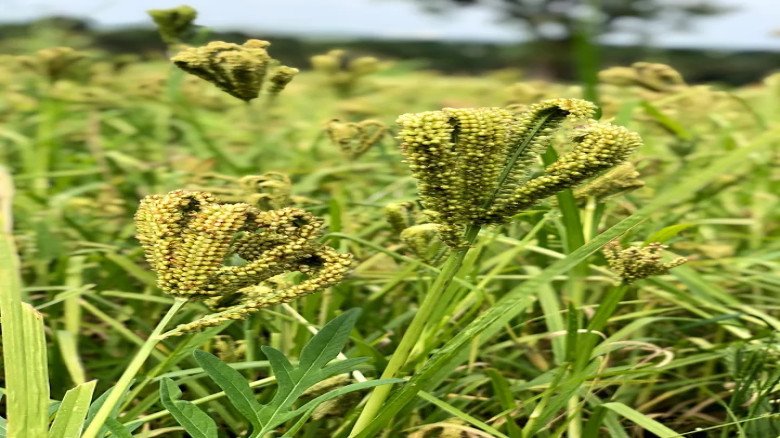
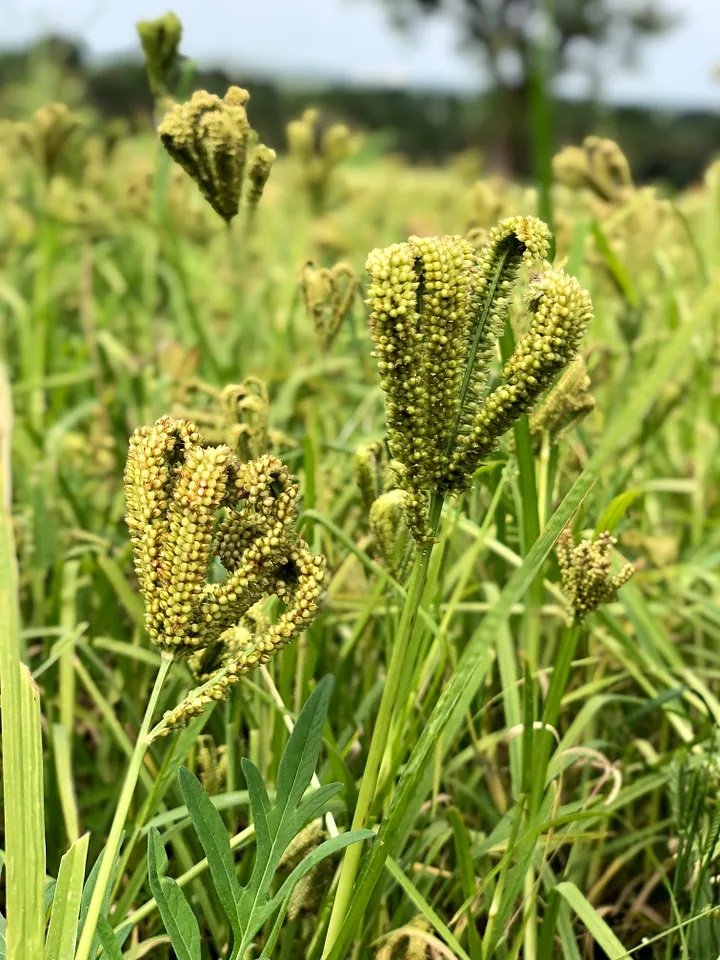
Elevation coracana, the scientific name for ragi, is a small-seeded cereal grain that has been grown for a number of years in India. In addition to being an important food crop, ragi, also known as finger millet, is a key source of revenue for Indian farmers. India is the world's largest producer of ragi, with 70% of the country's ragi production coming from Karnataka.
The Soil and Climate Needed for Growing Ragi
Tropical and subtropical climates are ideal for growing ragi. It indicates that it is grown in areas with high temperatures and dry, 500–1000 mm rainfall seasons. It is essentially a heat-loving plant. 8 to 10 degrees Celsius are typically needed for germination, while 26 to 29 degrees Celsius are needed for the crop's growth phase. All things considered, it is a significant cereal crop grown in India's drylands.
Rich sandy soils to poor shallow upland soils are all suitable for growing ragi crops. Generally, it needs loamy soils that are permeable and have adequate drainage; light red soil and sandy soil with acceptable water-holding capacity are preferred. It is resistant to certain level of flooding.
Procedures for Cultivating Ragi
India's ragi crop goes through several stages, necessitating the use of various cultivation techniques. The techniques needed at each stage are listed in full below. Selecting the Proper Ragi Crop Varietal Choosing the right ragi variety is essential to its effective cultivation. Ragi comes in a variety of kinds, and depending on the temperature and place, so does its suitability. Indaf-5, Paiyur 1 & 2, CO 9, CO 19, CO (Ra) 14, GPU-28, and many more are popular ragi types in India. For assistance on the appropriate variety for your particular location, you can visit your nearest agricultural extension center or speak with local agricultural specialists.
Preparing the Soil and Land for Ragi
Although ragi may grow in a variety of soil conditions, sand-like soil with good drainage is ideal for it. Prior to planting, use an MB plough to prepare the soil by plowing it twice or three times down to a depth of 15-20 cm. Make sure there are no weeds and that the soil is well-finished. To control the pH and nutrient level of the soil, perform a soil test. Soils with a pH range of 4.5 to 7.5 that are slightly acidic to neutral are ideal for ragi growth.
Planting of Ragi Grass
The Kharif Season, which begins in May or June by nature, is when ragi is grown. Just before the monsoon officially begins is the best time to seed ragi. Make sure the rills you create on the beds are no deeper than one centimeter. Plant the ragi seeds 2 to 3 cm deep in rows 2 to 30 cm apart. Across the beds, evenly scatter 5 kg of treated seeds. Gently level the earth with your hand to cover the seeds.
Watering Ragi Plants
Although ragi is known to withstand drought, adequate watering is still necessary for a decent crop. The frequency of irrigation varies depending on the soil. For red soils: Five times at regular intervals—that is, on the first, third, seventh, twelve, and seventeen days following sowing—should the ragi crop be irrigated.
For heavy soils
Four times at regular intervals—on the first, fourth, ninth, and sixteen days after sowing—irrigation should be used. Allow water to fill the intake and fill all the channels surrounding the seed bed. After allowing the waterlogging in the channels to reach the raised beds' height, turn off the water supply. It can be required to apply additional irrigation in areas with inconsistent rainfall.
Application of Fertilizer
Being a low-input crop, ragi can be more susceptible to pests and diseases, lodging, and decreased grain quality if excessive fertiliser is used. Before seeding, apply 10 tons of well-rotted compost or farmyard manure per hectare. Before planting, apply half of the nitrogen (N) and the full amounts of phosphorus (P2O5) and nitrogen (N) at the base. Using an MB plough, spread the fertilizer mixture throughout the field prior to the last plowing and work it into the soil.
Control of Weeds
The first few phases of ragi crop growth require careful weed control. When the soil is sufficiently moist, use herbicides, or irrigate as soon as possible after applying herbicides. Hand weed on the tenth and twentieth days following transplanting if a pre-emergence herbicide is not applied. Mulching can aid in inhibiting the growth of weeds.
Ragi Crop Harvesting and Post-Harvesting: After seeding, ragi usually becomes ready for harvesting in three to four months. When the grains are dry and hard and the spikes have gone brown, the crop is said to be mature.
Grain and straw separation is the process of threshing. The grains need to be cleaned to get rid of any debris, broken grains, and contaminants after threshing.
Grain storage should be done in hygienic, dry, and well-ventilated bags or containers. Use suitable storage techniques, such as the use of neem leaves or ash, to keep rodents and pests away from the grains that are being stored.
Processing
To prepare ragi, wash the grains well and either air dry them or use a machine to dry them. The grains can be processed into ragi-based goods like malt and porridge, or they can be ground into flour or rolled into flakes after drying.
In Brief
In addition to its nutritional value and market potential, ragi growing in India offers various advantages due to its tolerance to a variety of agroclimatic conditions. Farmers can successfully plant ragi and contribute to their food security and income generation by following the detailed advice mentioned above and obtaining local agricultural experience. In addition to helping farmers, ragi farming encourages sustainable agriculture and better food options for Indian customers.
-logo.webp.png)
.jpg)
-logo.webp.png)










Leave A Comment